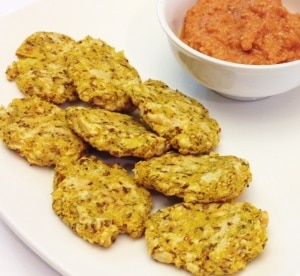
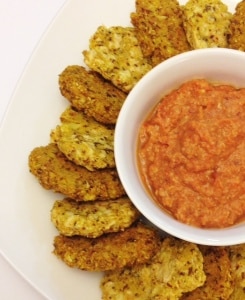
Here they are… Even Cheesier Cauli-Tots!
After I made Cheesy Cauli-Tots, I thought they'd be good if I made them a little cheesier. They turned out fantastic! Out of the two recipes for Cauli-Tots I like this one the best. I used Daiya Pepperjack Style Shreds in this because it's quick and easy, but the next time I make these tasty tots I'm going to try it with cashew cheese. Any vegan cheese should work fine though.
These are perfect at any meal. Make them for family or friends and they'll be shocked they're eating cauliflower! Just remember, don't tell them what's in it beforehand… :)
If you can't decide which Cauli-Tots to make here is some guidance. If you're more of a “potato-y texture” person than you might like the Cheesy Cauli-Tots best. If you're a “cheese lover & texture” person THIS is the recipe for you! Either way they're both delicious and good for you too! Check out some of the benefits under the recipe.
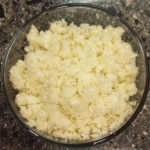
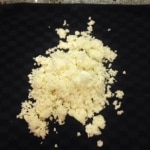
- Cauliflower pulsed into “rice” like texture
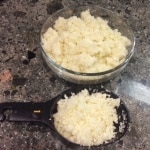
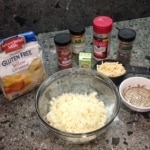
- Measure out 1 1/2 cups
- Place shredded cauliflower in dishtowel and squeeze extra water out
- Mix ingredients together
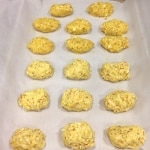
- Form “tot” shapes with your hands and place on baking sheet lined with parchment paper
I baked these in the oven, but they also worked in my food dehydrator. You have to leave them in there longer… about 4 hours to get them crispy. I stored them in the fridge and freezer. They were so good they went pretty quick! I reheated both versions in my dehydrator. They still tasted scrumptious and held up well. The oven would probably work well too.
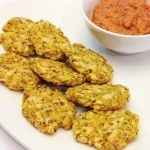
Cheesey Cauliflower Tots
Ingredients
- 1 1/2 cup Shredded Cauliflower about half of a head
- 1/2 cup Vegan Cheese I used Daiya Pepperjack Style Shreds
- 2 tbsp Cornmeal I used yellow cornmeal
- 1 Flax Egg 1 tbsp ground flax + 3 tbsp water
- 1/2 tsp Onion Powder if you're not a fan of onion you can omit
- 1/8 tsp Turmeric
- 1/8 tsp ground mustard
- 1/8 tsp Paprika
- a few shakes of salt and black pepper to your liking
Instructions
- Preheat oven to 350
- To get the shredded cauliflower, pulse the florets in the food processor until it resembles rice
- Remove the cauliflower and measure out 1 1/2 cups. Then place it in a dish towel and squeeze out the extra moisture over the sink
- Put the shredded cauliflower in large bowl and mix together with the rest of the ingredients
- Scoop out little balls, forming them into a tot like shape and place them on baking sheet lined with parchment paper
- Make sure they aren't too high. After placing them on parchment paper I pushed down on each one to flatten just a bit
- Bake for 20 min and then flip over for another 15 min (might be a little longer. you want them to be golden on top)
- Take out and let cool for a few minutes before serving
- Enjoy!
BENEFITS OF THIS RECIPE:
- Contains a wealth of anti-inflammatory nutrients.
- Helps your bodies ability to detoxify.
- Boosts brain and heart health.
- Loads of Antioxidants and Cancer fighting properties
- Assists in lowering blood pressure and improving kidney function.

